
こんにちはRe-createです。
前回に引き続き、マンションリフォームのビフォーアフターを書いていきます。
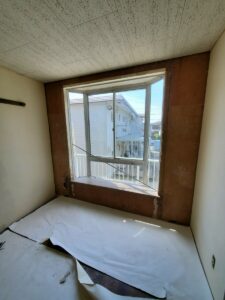
まずは古いクロスを全て剥がし、下地の補修を行います。
床材も同様に剥がしております。
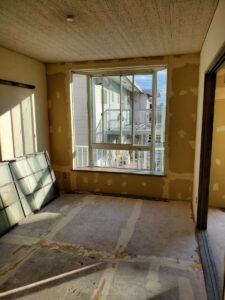
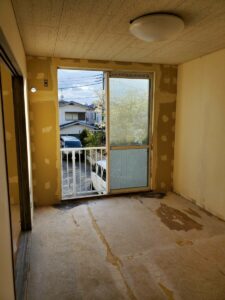
壁の下地補修が終わったので、ベニヤ板を一面に貼り付けてビス留めしていきます。
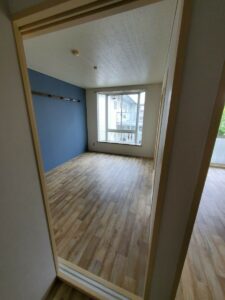
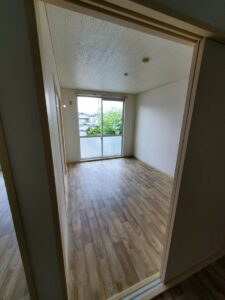
下地処理が完了したので、クロスとCFを貼っていきます。
施工風景ありません!すみません。
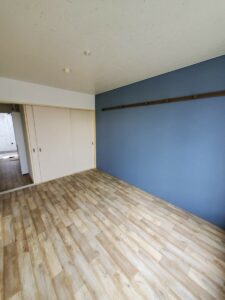
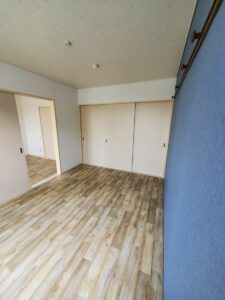
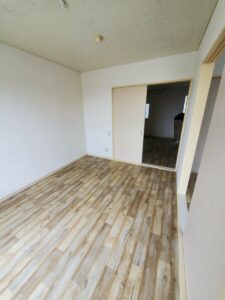
壁面と床はこれで完成となります。
一室のみ壁面をブルーのクロスで貼っています。
なかなかオシャレな感じになりましたね!
次回は設備の交換を行って行きますのでお楽しみに!
スタッフ一同