こんにちはRe-createです。
前回に引き続き、相模原市の賃貸物件の原状回復工事の施工風景をご紹介致します。
今回は、危険な床の補強工事を行います。
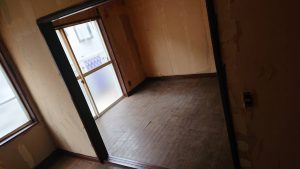
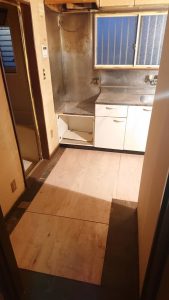
補強する部屋は、キッチン・居室×2の3部屋です。
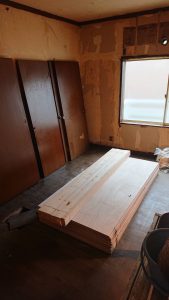
補強する材料は、垂木とコンパネを使用します。
では作業開始!
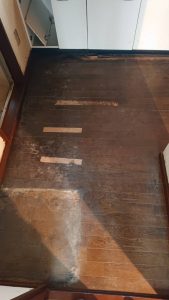
まずは腐った床を剥がすので、丸ノコで床に穴を開けます。
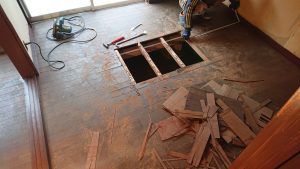
端はプカプカしていないので、その手前に丸ノコで切り込みを入れていきます。
端の切り込みを入れ終わったら剥がし作業に移ります。
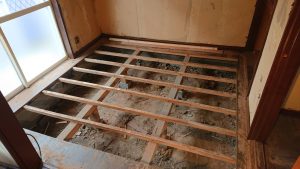
居室の一部屋目の剥がし作業完了!
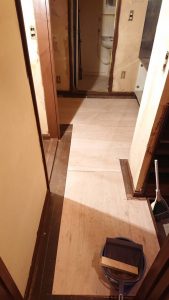
コンパネの寸法上このまま貼ると事ができないので、垂木を固定していきます。
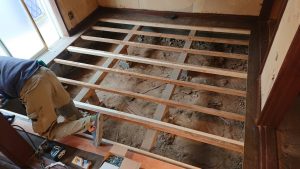
垂木の固定完了。
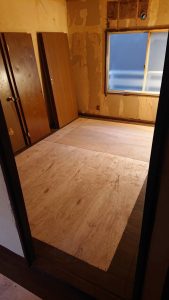
続いてコンパネをハメていきます。

一人が寸法を測って、もう一人が寸法通りにコンパネをカットして固定していきます。
この手順をあと2部屋でも行い、床の補強は完了です。
今日の作業はここまで。
次回は壁の補修・クロス貼りを行いますので
施工完了したらご紹介致しますのでお楽しみに!
スタッフ一同